
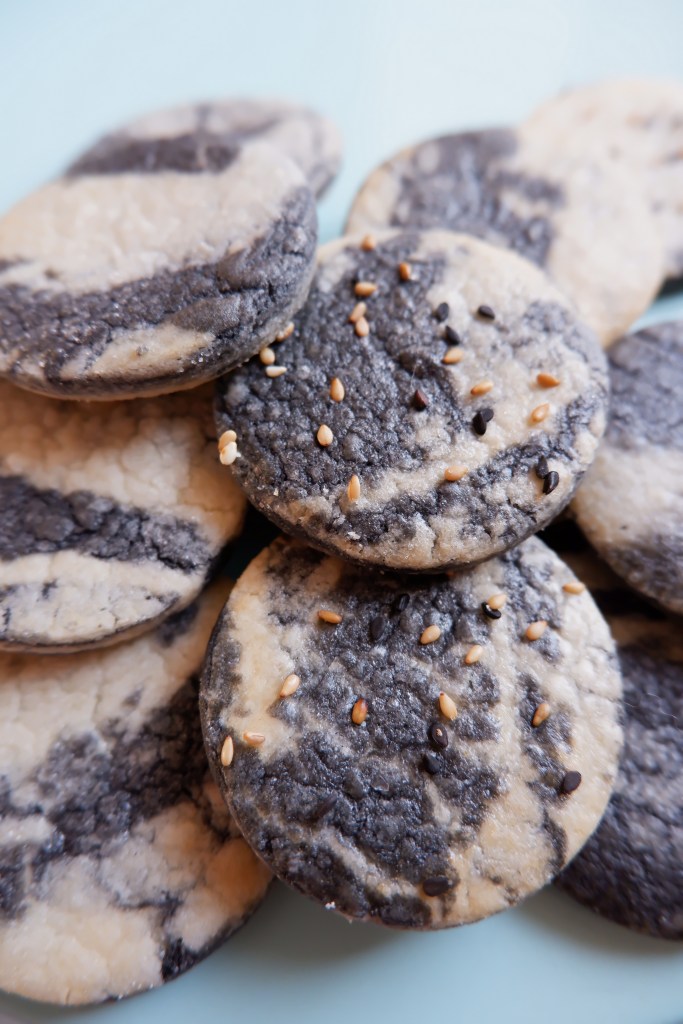
I recently came across a marbled halva recipe that looked absolutely gorgeous. This recipe (and a huge container of tahini sitting in my fridge) is what inspired these fun little cookies I am sharing with you today. I was most intrigued by the marbling of the tahini, and this particular recipe called for black tahini to achieve the effect. I’ve certainly seen black tahini in some specialty grocery stores and perhaps a health food store or two, but right now I knew I wouldn’t be able to go searching for such a specialty item. In my pantry, I keep an array of “health food” powders such as beetroot, spirulina, and activated charcoal. I’ve successfully made pasta dough with all of these, so why not some cookies? So here it is, my version of a marbled tahini cookie using activated charcoal. The cookies themselves are shortbread adjacent, but have a smooth and creamy texture. This was a happy accident actually. I had started the recipe off by looking at a shortbread cookie recipe and swapped some of the fat for tahini. In the process, I accidentally forgot to add the eggs to the dough. By the time I noticed, it was too late to incorporate them so I just left them out and hoped for the best. My forgetfulness turned into a delicious, melt in your mouth cookie and I couldn’t be happier.
Marbled Tahini Cookies
Yield: 20-24
Ingredients:
- 192g all-purpose flour
- ¾ tsp. salt
- ¼ tsp. baking powder
- 115g unsalted butter, softened
- 63g confectioners sugar
- 63g plain tahini
- 1 tsp. activated charcoal, mixed
Optional:
- 1 egg white
- coarse sugar
- sesame seeds
Method:
In a medium bowl, whisk together flour, salt, and baking powder. Set aside.
Using an electric mixer fitted with a paddle attachment, beat butter and sugar until well combined. Add the tahini and continue mixing. With the mixer on low, add the dry ingredients, mixing until just combined. Remove about ⅔ of the dough from the mixer and set aside. Add the activated charcoal powder to the remaining ⅓ of dough and mix until the dough is evenly black.
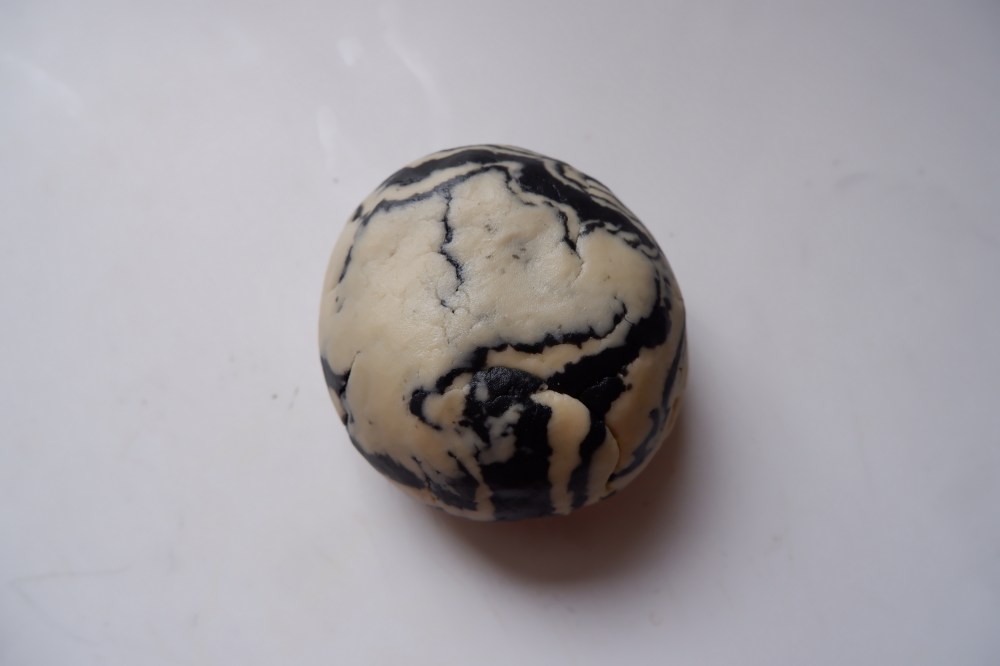
On a clean surface, press each dough into its own disk. Roll each disk of dough into equal sized circles, approximately ¼ inch thick (the black will be thinner as there is less dough). Stack the black circle on top of the plain circle. Cut the circle in half and stack one half over the other. You should now have four layers of dough, alternating colours. Using your hands, gently fold and knead the stack of dough together, forming a marbled ball. You can choose the amount of folding and kneading to do based on how the dough looks and how much you want it to marble. Form your final ball into a disk, wrap in plastic wrap, and refrigerate for 45 minutes.
Prepare two baking sheets lined with parchment paper.
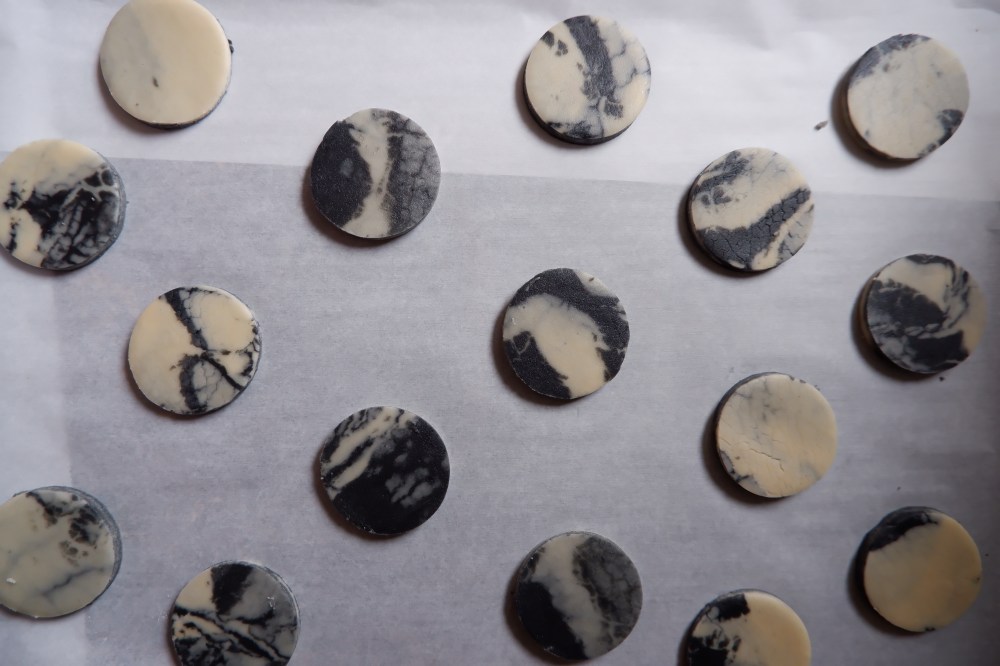
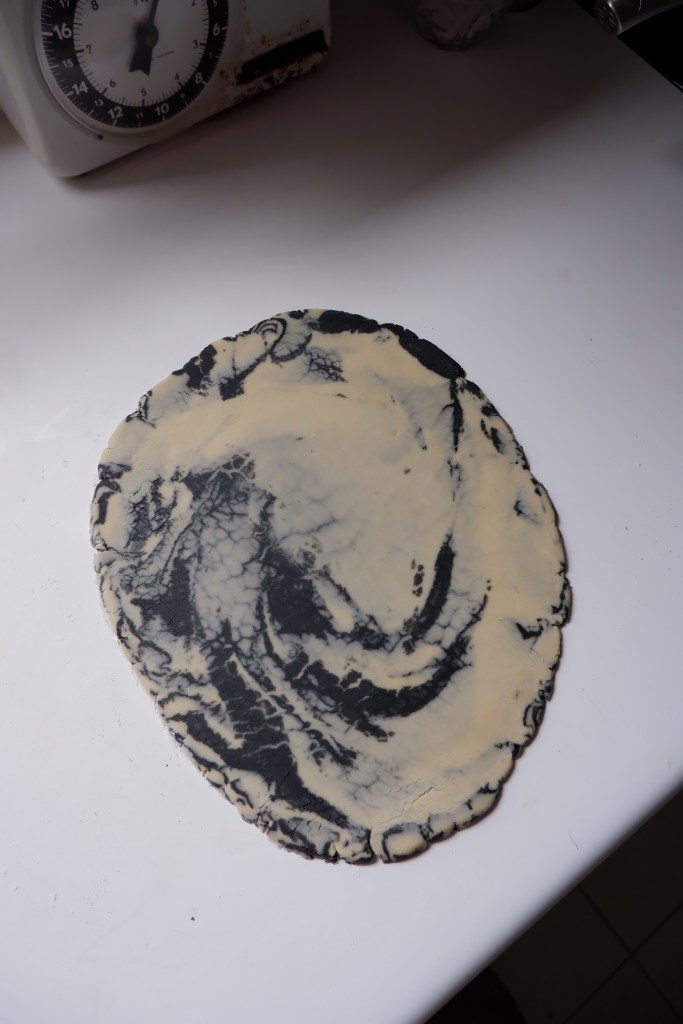
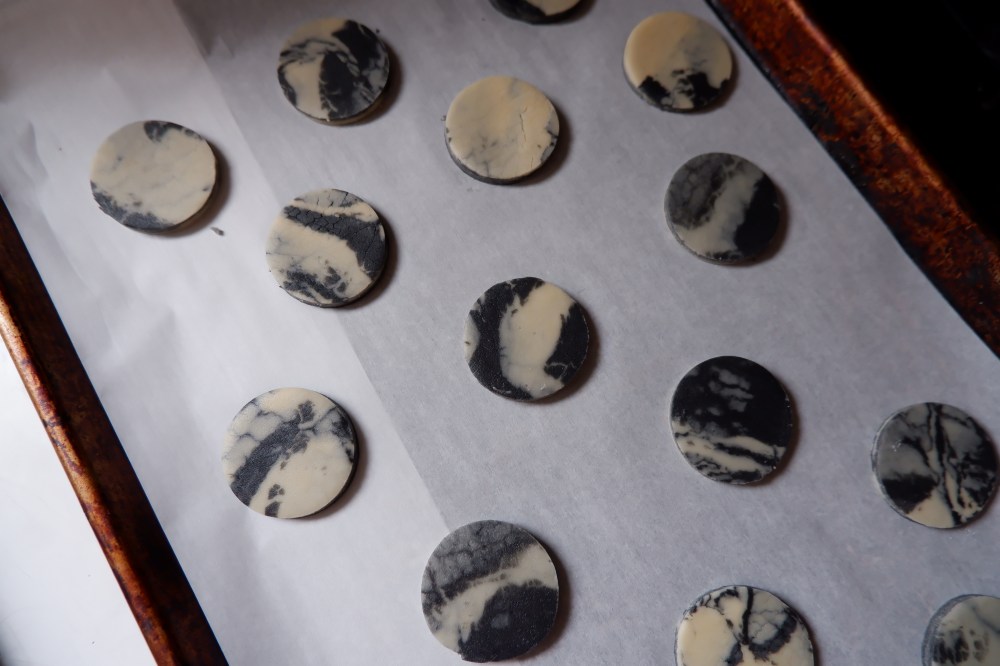
On a clean work surface, roll out your rested dough. The dough is quite greasy, and should not stick to your rolling pin or surface. If you find it sticking, dust your surface with flour. Using a cookie cutter of choice, cut rolled out dough. Carefully transfer the cut cookies to the prepared cookie sheets. The dough does not spread, so the cookies can be placed about 1 cm apart on the tray. Continue until all the dough is used.
Optional: at this point lightly brush each cookie with egg white and sprinkle with coarse sugar or sesame seeds.
Place the trays of prepared cookies in the freezer for 30 minutes before baking. This helps the cookies to keep their shape while they bake.
Preheat the oven to 325 degrees fahrenheit.
Once the cookies have rested in the freezer, bake in the preheated oven for 12 minutes, rotating the trays halfway through baking. Leave the cookies on the trays to cool. This will help to crisp up the bottom, without continuing to cook the top.

Enjoy!

They look really cool!
LikeLike