

A couple of months ago, I had re-watched Claire Saffiz’s original Gourmet Makes video on the oh so nostalgic snack, Pop Tarts. I remember liking Pop Tarts as a kid, mostly because I wasn’t allowed to have them at home and not because they tasted amazing. I also enjoyed anything with multi-coloured sprinkles, but that still hasn’t changed. I was intrigued by the idea of making this nostalgic snack actually taste really good and this recipe seemed to be the best option out there.
Now, when you first watch the video, it’s all very complicated and drawn out as Claire goes through a process of trial and error to make the best recipe. Lucky for those of us interested in actually trying the recipe, Claire slightly simplified it and recently released a new version on Bon Appetite here. This “simplified” recipe consists of 4 major components: the dough, the strawberry filling, the icing, and the sprinkles. Yes, you even make your own sprinkles. Sure, you could buy a filling and some sprinkles from the store and cut out those steps but that seems a little too easy and doesn’t make me feel like I really did the recipe. I say this now, but at the time, I kind of wished I had made it a little easier for myself! Here’s how it all went…
Day One
Strawberry Filling (2 hour process)
The strawberry filling is basically a jam but a little thicker. I do like that the recipe says to blend it until smooth because it definitely made it much easier to fill the pop tarts evenly. What I didn’t like about this recipe was how you are told to cook the filling in the oven over an hour and stir it throughout that time. At this point, the filling has already been cooked down on the stove-top and it just seems a little excessive to have this extra step. I understand that this is to help reduce it even more, but could you not just continue to reduce the strawberries on the stove? The oven was also a little inconsistent as it was hard to spread the filling to an ideal, even thickness. This is important as any thinly spread filling dried up like fruit leather, and any thickly spread filling did not reduce enough. All in all, the actual taste of the filling was delicious and I guess that’s what counts most right?
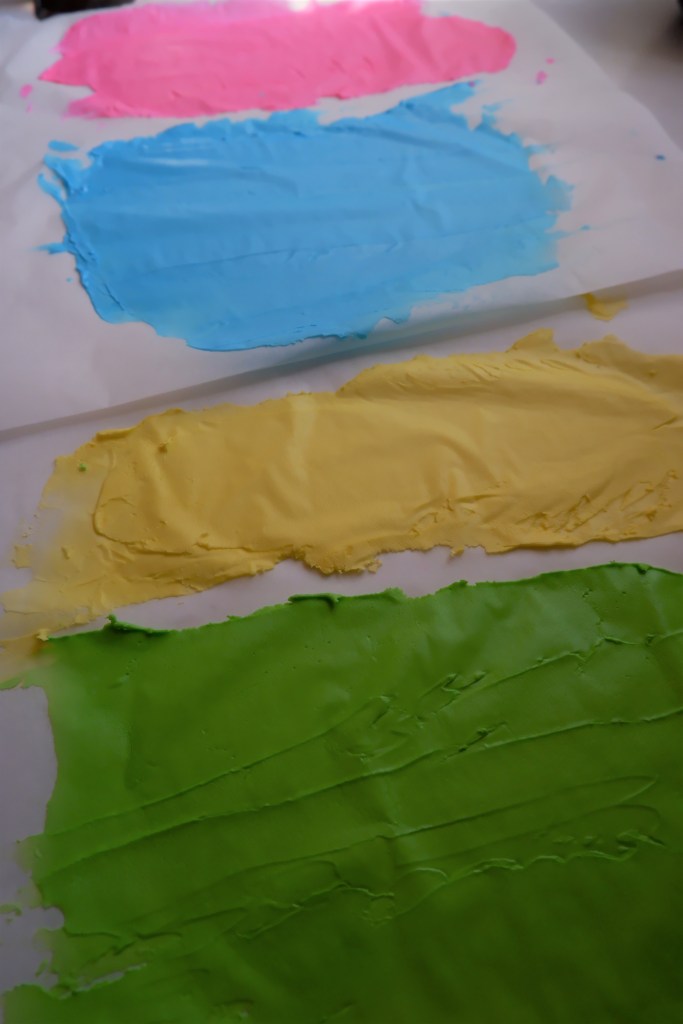
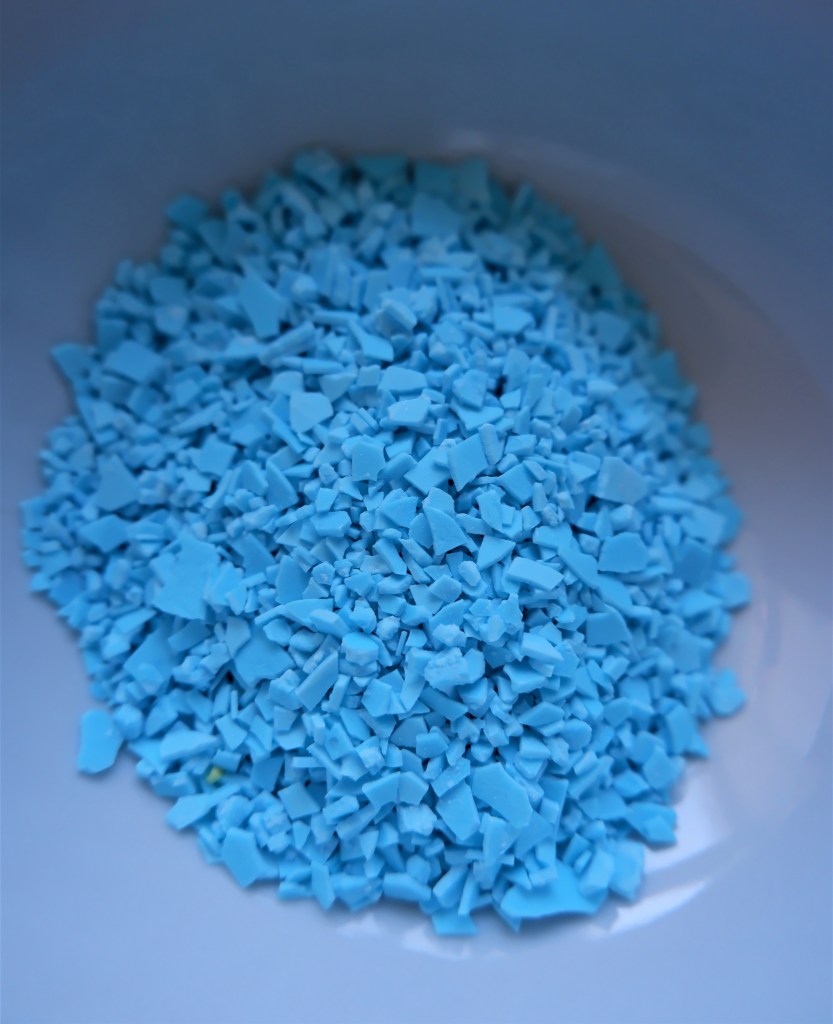
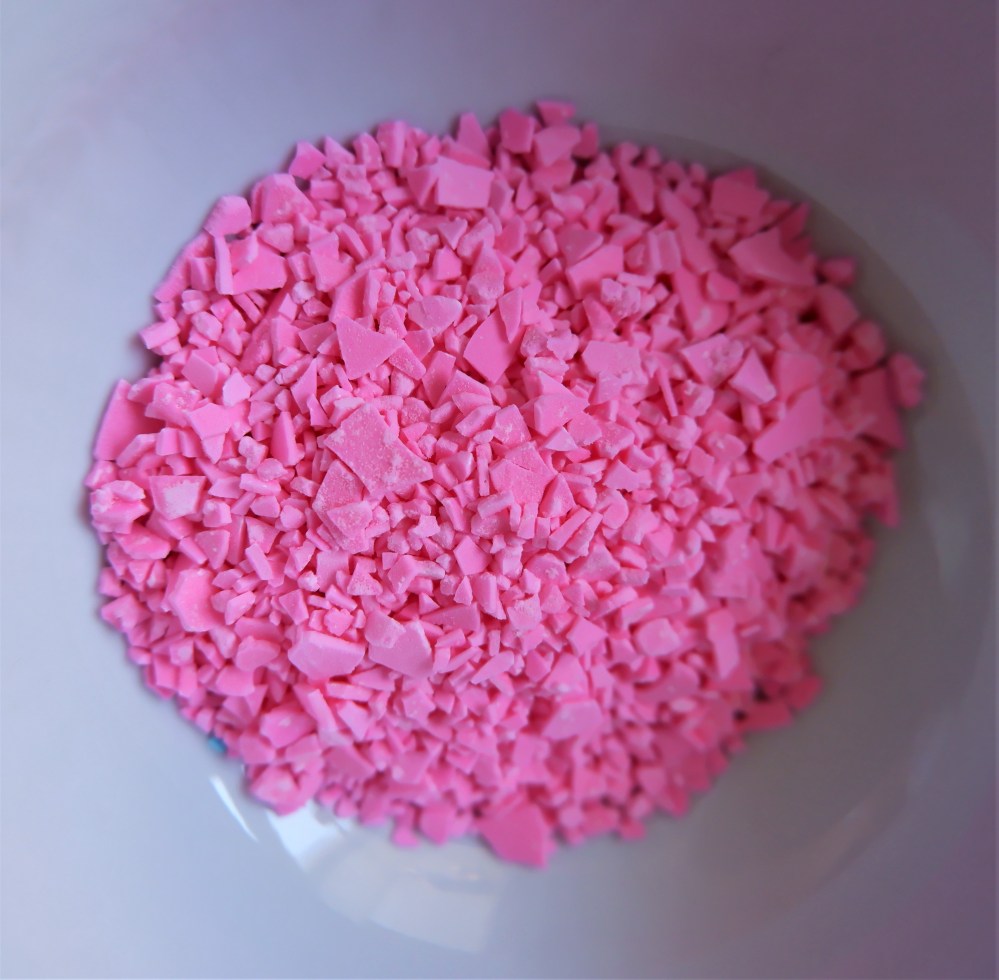
Sprinkles (1 hour process- minus the overnight drying)
I had never made sprinkles before so this was a fun little learning experience. They are super easy, consisting of just egg white, sugar, salt, and food colouring. Basically all of the ingredients get mixed together and you spread the paste very thinly on parchment paper. When I followed the exact recipe provided, the mixture was too thick and I could not spread it properly. This may have been because my egg white was smaller than the one Claire used and that is obviously no one’s fault. It’s hard to do accurate baking without weighted ingredients! I just added a splash of water and all was good. Once everything was spread, I let it dry over night and the next day I did the crushing and sifting process. I certainly did not sift and re-sift the many many times the recipe suggests, I simply sifted my crushed bits once just to get rid of any powder that was produced during crushing. I must say, the sprinkles look adorable and I had so many left overs to use in future baking projects.

Day Two
Pastry Dough (1.5 hour process- including resting in the fridge)
I make a lot of pastry dough and I always use either a food processor or box grater to incorporate the butter. I decided to follow Claire’s instructions and use the box grater method and just get in there with my hands to bring it all together. I am so glad that I opted to make it this way because it yielded the flakiest, golden crust I’ve ever made. I certainly will be doing this part of the recipe again to use in other baked goods.
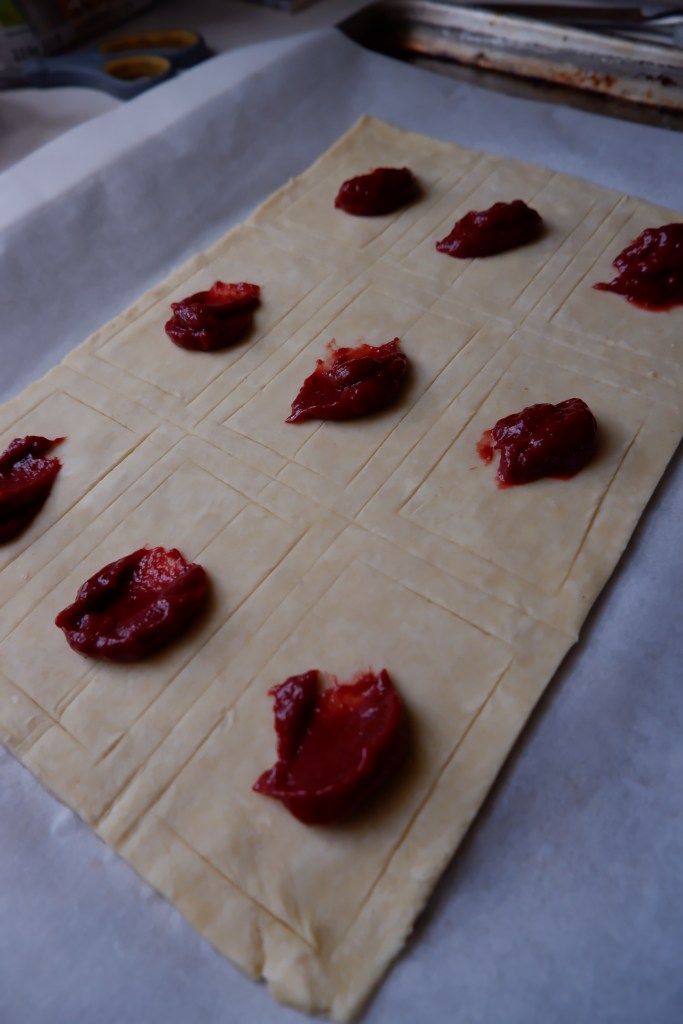
Assembly/Bake
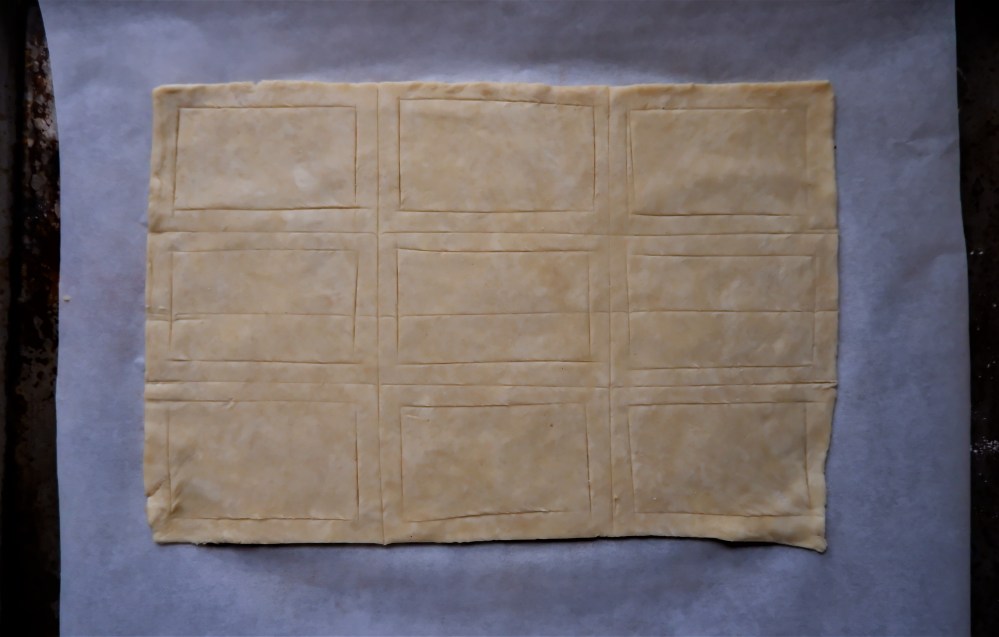
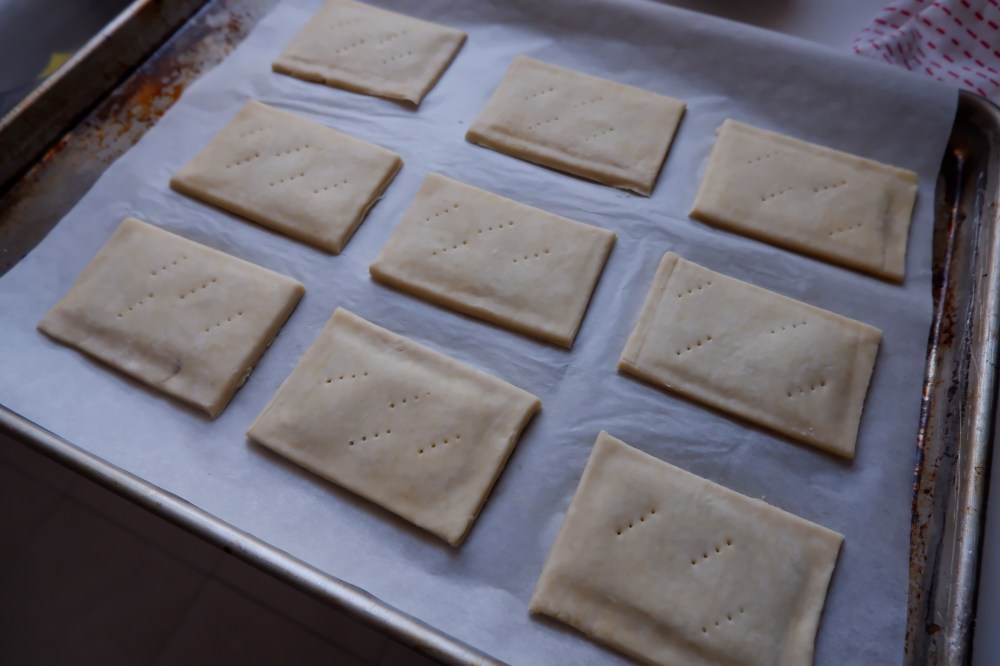
Since the dough was so luscious, it was very easy to roll it out in a nice rectangle. I used a ruler and marked the rectangle as well as the interior rectangle frame as Claire did. I feel like you can just do your own marking based on how large you want them because these felt a little large. As long as you understand the concept of assembly, I think you should feel free to figure out your own preferred size. I will say that it was very helpful to have the interior frame (where the filling is spread) pre-marked onto the dough. This made it so easy to spread the filling without feeling like you were going to have strawberry oozing everywhere. Speaking of oozing, none of my pop tarts leaked during baking and that’s because I made sure to really seal the edges AND poke holes in the dough with a fork. I almost forgot that step and I think it would have been detrimental to these pop tarts as they would have just puffed and ultimately popped. I did have to bake these for about 15 minutes longer than the recipe states to get them a little bit golden. This could have been an issue with my oven, rather than anything to do with the recipe.

Icing
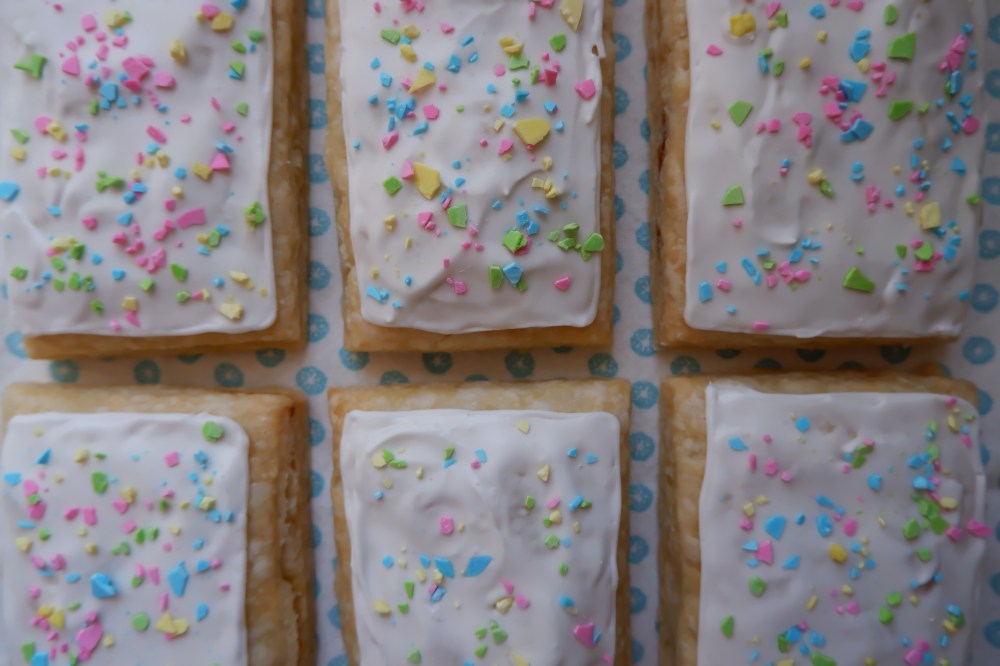
The icing was very similar to the sprinkles, just a simple and easy mix. I added a little more liquid to make it more spreadable as again, my egg white must have been much smaller than the one Claire used. Because this is basically a royal icing, it really holds its shape so drawing in a boarder first didn’t feel necessary. Note that this icing dries very fast so get those sprinkles on immediately!

Conclusion
These Pop Tarts are adorable and they taste amazing! I seriously was so ready to be very critical about this recipe but the final product is too good to do that. I would say that you could totally buy the sprinkles and skip that step since they don’t elevate the taste in any way. You could also use store bought filling as I mentioned before, but this particular filling recipe really does mimic the original Pop Tart in texture and flavour. When it comes to the size and assembly of these, the recipe is extremely thorough in explaining how to shape, cut, seal, etc. making it hard to make mistakes. In the end, I feel that the many hours spent on these treats was well worth it. They truly fulfill the Pop-Tart-nostalgia-factor but with a much better taste.

Published by